Minecraft is a popular sandbox video game developed by Mojang and published by Microsoft Studios that lets players explore, create, and build in a virtual world.
Given its widespread popularity - with over 230 million copies sold - it's no surprise that many people want quick and convenient access to the game.
One way to do this is by putting the Minecraft Launcher on your desktop computer. This launcher allows you to open the game with just a few clicks rather than searching through your files or applications.
In this article, we'll show you how to create and put the Minecraft Launcher on the desktop of a computer for Windows 10 or 11. This process is straightforward and only requires a few steps, and it can save you time and hassle in the long run.
Whether you're a seasoned Minecraft player or a newcomer, having the launcher app on the desktop can make it easier for you to start the game in no time.
Download and Install the New Minecraft Launcher
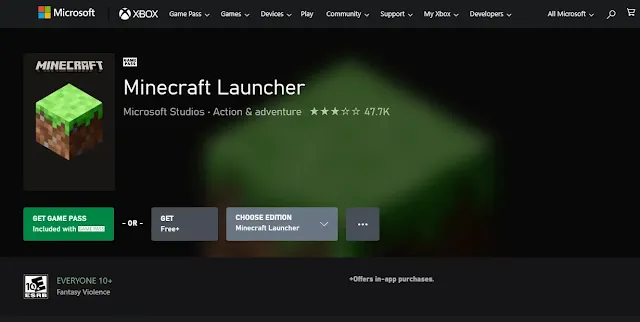
To find and install the new Minecraft Launcher, you'll need to visit the official Minecraft website or the Microsoft Store| Xbox. You can skip to the next section if you have already through this.
We recommend you get it from Microsoft Store| Xbox on your computer. But if you opt to download from the Minecraft website, follow these steps:
- Open a web browser and go to https://www.minecraft.net/en-us/download.
- Find the "Minecraft Launcher" for your current Windows, and click the "Download" button.
- Wait for the download to complete.
Once the download finishes, it's time to install the Minecraft Launcher.
To install the Minecraft Launcher from the Minecraft website:
- Search for the downloaded Microsoft Launcher file .exe located on your computer
- Double-click the file.
- Click the "Install" button.
- Follow the on-screen instructions to complete the installation process.
If you choose to download from the Microsoft Store, follow these steps:
- Open the Microsoft Store| Xbox app on your computer.
- Type "Minecraft Launcher" into the search bar.
- Click on the "Minecraft Launcher" result.
- Click the "Get" or "Install" button.
To install the Minecraft launcher from the Microsoft Store:
1. The installation should start automatically after the download finishes.
2. If it doesn't, click the "Install" button in the Microsoft Store app.
3. Follow the on-screen instructions to complete the installation process.
That's all there is to it! You have now successfully downloaded and installed the Minecraft Launcher on your computer.
How to Create & Put the Minecraft Launcher on Desktop Home Screen
If you want quick and convenient access to the Minecraft launcher, you can add it to your desktop home screen. Here's how:
Step 1. Press the Windows key + R on your keyboard to open the "Run" window.
Step 2. Type shell:AppsFolder into the "Run" window and hit enter. This prompt will open a folder containing all the apps on your computer.
Step 3. Scroll through the list of apps until you locate the new Minecraft launcher for Windows.
Step 4. Right-click on the Minecraft Launcher and select "Create shortcut."
A shortcut to the Minecraft launcher will now appear on your desktop home screen. You can launch the game by double-clicking on the shortcut.
Note: If you don't see the new Minecraft Launcher in the "Apps" folder, make sure you've downloaded and installed it properly. You can follow the steps in the previous section to download and install the Minecraft Launcher.
And that's it! You can now easily launch Minecraft from your desktop home screen for Windows 10 and 11 with just a few clicks. Happy building!

